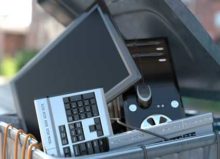
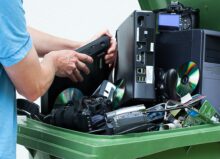
How to Prepare Your Computer for Recycling
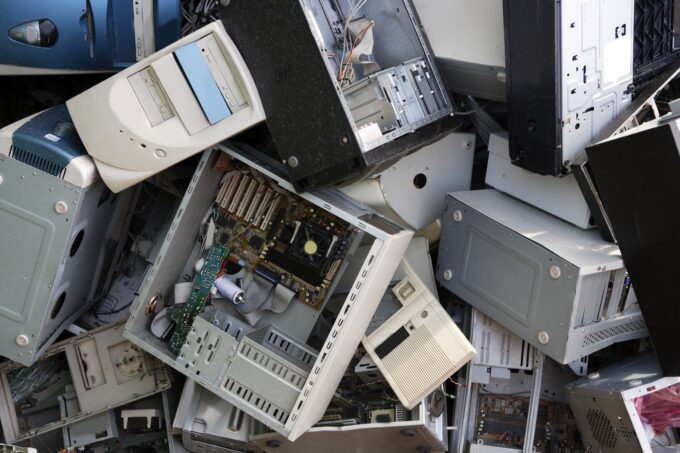
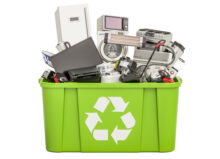
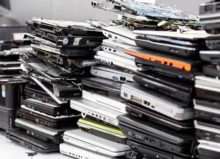
Congratulations! You’re about to recycle an old computer that would otherwise end up buried in a landfill where it could eventually leach dangerous chemicals into the soil and water, pollute the environment, and harm humans, wildlife, and plants.
Before you take your computer to an e-waste recycling center, there are a few steps you’ll need to take:
1. Physically Clean the Computer & Other Devices
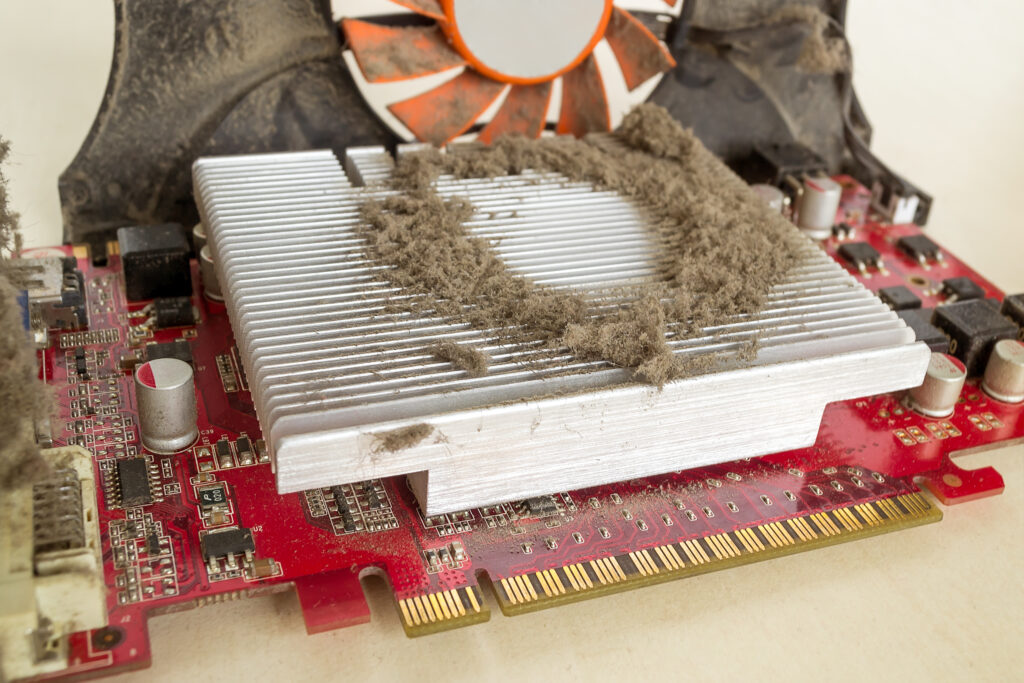
Unplug your computer, mouse, and keyboard and gently clean with a microfiber cloth and mild cleaning solution to remove any dust and grime. If you recycle your keyboard and mouse, use compressed air to blow out debris between the keys.
If you feel comfortable doing so, open up the computer case and gently blow out dust (using compressed air) from the internal components.
2. Backup Your Data
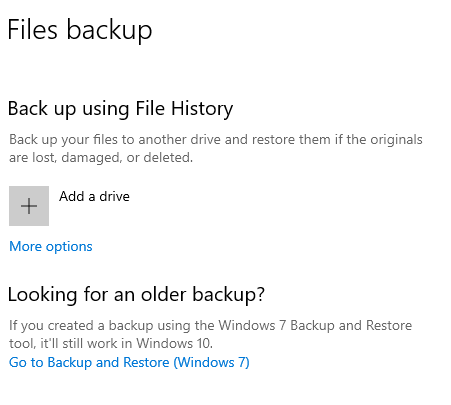
Once you completely wipe your data, you won’t be able to restore any files on the hard drive. A flash drive is a common way to back up sensitive or personal files. Another backup strategy is to upload files onto the cloud. A digital storage solution ensures you won’t forget a flash drive or other physical device somewhere. With the right password, your files will be available from anywhere in the world.
Both of these backup strategies have security considerations. A portable hard drive or flash drive can be stolen or lost. These portable, physical storage options can be encrypted, but that also adds the risk that you’ll forget your password. Digital storage options can be accessed anywhere, meaning anyone with your password can access sensitive information.
Additionally, if you plan to reinstall the software on your new computer, you need to make sure you have copies of the serial numbers or product keys you used in your initial installation. This will save you time, as you won’t have to hunt for old receipts or contact the software vendor for another copy of those keys or serials.
3. Wipe Your Data
Windows Computers
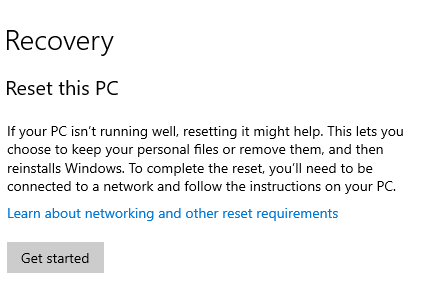
All Windows versions generally have the same roadmap for resetting the computer to factory settings.
- Go to the Start Menu and click on ‘Settings.’
- Go to the ‘Recovery’ Menu located in the ‘Update & Security’ section.
- Select ‘Get Started’ under ‘Reset This PC.’
Before the factory reset, you’ll want to select ‘Keep my files’ (cloud or local) and select ‘Restore preinstalled apps?’ to ‘No.’
Mac Computers

Factory resetting will vary based on the operating system version you have.
If you have a macOS Ventura or another later version, follow these steps:
- Click on the Apple menu and go to ‘System Settings.’
- Click on ‘General.’
- Click on ‘Transfer or Reset.’
- Click ‘Erase All Content and Settings.’
If you have macOS Monterey, you’ll need to select ‘System Preferences’ from the Apple menu and then choose ‘Erase All Contents and Settings.’
If you don’t see either option—you probably have an older Macbook and will have to follow these steps:
- Hold down the Command and R keys until the Apple logo appears on the screen. This will start the installation of the OS that initially came with your Mac computer. Apple keeps a copy of this OS within your hard drive no matter which OS you upgrade to during the life of your computer, as this is Apple’s “factory reset” process.
- The ‘Utilities’ window will appear on your screen. You should open Disk Utility and erase the disk.
- Select the ‘MacOS Extended (Journaled)’ format and exit out of Disk Utility once the process is completed.
- Go back into the ‘Utilities’ window to select ‘Reinstall OSX’ or ‘Reinstall MacOS,’ depending on how old the OS is.
Data Wiping Versus Data Destruction
A complete factory reset can make it difficult for most thieves to access personal information, but they are hardly obstacles from more knowledgeable and persistent criminals.
Data is still stored on your hard drive, even after it’s emptied from your computer’s recycling bin. The best way to ensure absolutely no data is left in your hard drive is to work with an electronic recycling company offering comprehensive data destruction services.
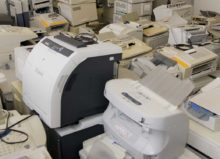
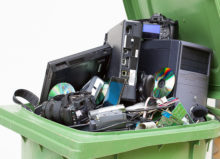
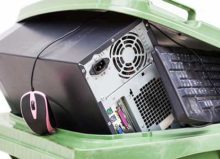
Drop Your Old Computer Today
Recycle your old computer, including keyboard, mice, and monitors, at High Tech Recycling. We serve individuals and businesses in the metro Detroit area. You can drop off your computers at our center during business hours (9 a.m. to 5 p.m. Monday through Friday) or schedule a free pickup outside our operating hours. Flat-screen monitors have a $2 charge, and we do not accept CRT monitors. You can contact us today for more information on what items we can and cannot accept.