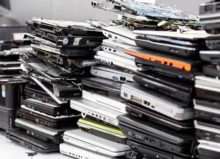
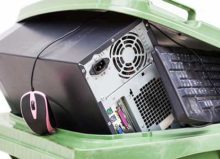
How to Prepare Your Server for Recycling
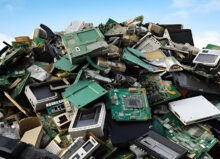
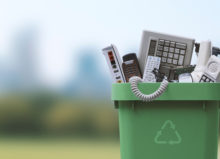
Despite there being laws requiring proper disposal of electronics, only 12.5% of e-waste is actually recycled.
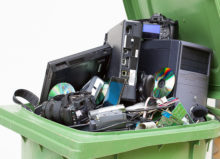
Electronic devices, like servers, contain toxic materials like mercury, lead, and cadmium. Although these materials are safely contained and pose no threat, the toxic chemicals could leak and contaminate the groundwater if the server were to go to a landfill without special handling. The environmental impact could be enormous, as well as the effects on public health and safety.
Hard drives also contain sensitive data, including credit card and Social Security numbers. If you dispose of your server by selling it or throwing it away, the information on the server’s hard drive could be accessible to the person who buys your old server or anyone who happens to pick it up.
If you have an old server you need to get rid of, keep reading this article to learn more about the steps to take before recycling it.
1. Create a Data Backup
First, identify data that needs to be preserved, including system files, applications, user data, and other sensitive information stored on the server.
Once you have identified the data, backup your data using software that’s compatible with your server’s operating system.
Configure the backup settings in your chosen software. Opt for a full backup to capture all the data on the server and schedule it at a time that minimizes disruption to ongoing operations. The backup should be stored in a secure location, such as an external hard drive or a cloud storage service. Then, verify the integrity of the backup by performing a test restoration.
2. Destroy Data
After you’ve confirmed the success of your backup, you’ll want to destroy any sensitive data. If the recycling center you work with offers data destruction services, you can skip this step.
If you’re performing the data destruction yourself, you can use several effective methods. One common approach is data wiping, which involves using software to overwrite all the data on the drives with meaningless random data multiple times. Several data wiping software tools are available that adhere to standards such as DoD 5220.22-M.
Another relatively secure method is degaussing, which uses a high-powered magnet to disrupt the magnetic fields of the storage media, rendering it unreadable.
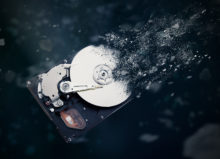
Physical destruction might be necessary for absolute security, especially for highly sensitive data. This can be achieved by shredding, crushing, or drilling the hard drives. The downside is that the hard drive can’t be reused.
3. Physically Clean the Server
Once the hard drive is wiped, the next step is physically cleaning the server.
Start by powering down the server and unplugging all connected cables and peripherals. Move the server to a clean, well-ventilated area to avoid spreading dust.
First, clean the exterior. Wipe down the casing with a soft, lint-free cloth. For tougher spots, use a cloth dampened with isopropyl alcohol. Avoid using abrasive cleaners or clothes that can scratch or otherwise damage the server’s exterior.
Next, address the interior components. Open the server casing, taking care to follow any manufacturer guidelines. Use compressed air to blow out dust from the interior, focusing on the fans, heat sinks, and other ventilation paths. It’s important to keep the compressed air nozzle at least a few inches away from the components. After dusting, use a soft brush to gently remove any remaining particles.
4. Remove the Server from Your Network
Next, deactivate any network services running on the server, including DHCP services, domain controllers, or file-sharing services.
Then, unassign the server’s IP address and remove its DNS entries. Make sure to update your network documentation to reflect the server’s removal.
After the server has been logically disconnected from the network, physically disconnect the server.
Finally, ensure all network ports are sealed or covered to prevent dust accumulation and physical damage during transit.
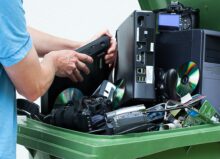
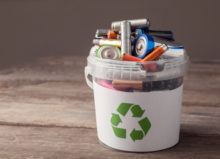
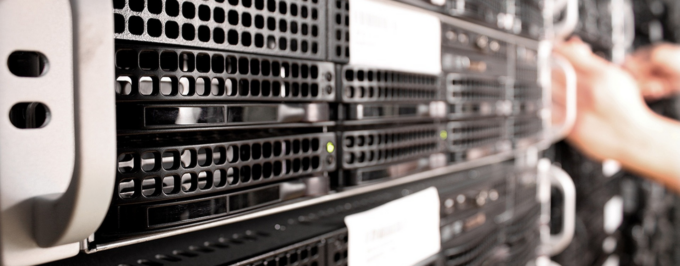
5. Take Your Server to a Certified Recycler
After you’ve completed the above steps, you’re ready to transport your server to a certified recycler.
At High-Tech Recycling, our process is simple: You can either drop off your electronics at our facility during operating hours or have us pick them up for you.
Data destruction is included in our standard recycling process. Our primary method is hard drive wiping. We use DoD 5220.22 M-compliant software to securely and permanently erase the data. After data has been effectively restored, we break down most items into separate components for sorting. Some materials can be reused or refurbished, while others can be used to make new products and return to the material stream. After sorting, we ship the materials to another facility for further processing.
Schedule a Pickup or Drop Off Your Old Server
Our center is open Monday through Friday between 9 a.m. and 5 p.m. You do not need an appointment to drop off your server. Please visit our website for directions to our recycling center or click here to request a pickup instead—if you need an urgent response, please call (248) 805-3408.